> ## Documentation Index
> Fetch the complete documentation index at: https://dragonwingdocs-staging.qualcomm.com/llms.txt
> Use this file to discover all available pages before exploring further.
# 烧录操作系统
> 选择开发套件、选择目标操作系统,并使用 Qualcomm® Launcher 进行烧录。
本指南使用 **IQ-8275 Evaluation Kit Pro**,目标操作系统为 **Ubuntu Server
24.04-x08**。
## 前提条件
在继续之前,请先完成[安装指南](./installation)。
准备两根 USB 线缆:一根 **USB Type-C** 线缆用于连接设备进行烧录,
一根 **USB Type-B** 线缆用于串口连接以配置 Wi-Fi。
***
## 烧录步骤
在主机上启动 Qualcomm® Launcher 应用程序。
点击 **Select Development Kit**,并从可用列表中选择您的套件。
可使用搜索框按名称筛选。
 选择开发套件后,选择一个 **Target Operating System**。
使用 **Variant** 和 **Version** 下拉菜单选择官方操作系统发布版。
选择 **Custom** 并指向包含您镜像的本地文件夹。
您还可以更改默认的 **Download Location** 路径。
选择开发套件后,选择一个 **Target Operating System**。
使用 **Variant** 和 **Version** 下拉菜单选择官方操作系统发布版。
选择 **Custom** 并指向包含您镜像的本地文件夹。
您还可以更改默认的 **Download Location** 路径。
 如果未检测到兼容设备,屏幕会显示:*"No compatible device detected. Connect your device via USB and ensure it is in EDL mode."* 应用内提供了 **Steps to Enter EDL Mode** 链接。
 在烧录之前,请将设备置于 **EDL(Emergency Download,紧急下载)模式**。
针对您具体设备的分步说明可通过应用内的 **Steps to Enter EDL Mode** 链接查看。
进入 EDL 模式后,设备会被自动检测到。
点击 **Flash** 按钮开始烧录过程。
进度屏幕会显示实时烧录状态:平台镜像下载、后台烧录活动以及实时日志。
在烧录之前,请将设备置于 **EDL(Emergency Download,紧急下载)模式**。
针对您具体设备的分步说明可通过应用内的 **Steps to Enter EDL Mode** 链接查看。
进入 EDL 模式后,设备会被自动检测到。
点击 **Flash** 按钮开始烧录过程。
进度屏幕会显示实时烧录状态:平台镜像下载、后台烧录活动以及实时日志。
 此过程可能需要几分钟。烧录进行期间,**请勿关闭应用程序或断开设备连接**。
如果在 Windows 上烧录反复失败并出现 `qdl: unable to open USB device` 错误,原因可能是 USB 驱动冲突。请参阅[解决 USB 驱动冲突](./troubleshooting/usb-driver-conflict)来解决此问题。
某些固件更新需要在烧录过程中**第二次进入 EDL 模式**。如果您的设备需要这样操作,会出现如下提示:
> **Put Device in EDL Mode to Continue**
> The additional firmware flash step completed successfully. To proceed with flashing the operating system, the device must be placed in EDL mode again.
此过程可能需要几分钟。烧录进行期间,**请勿关闭应用程序或断开设备连接**。
如果在 Windows 上烧录反复失败并出现 `qdl: unable to open USB device` 错误,原因可能是 USB 驱动冲突。请参阅[解决 USB 驱动冲突](./troubleshooting/usb-driver-conflict)来解决此问题。
某些固件更新需要在烧录过程中**第二次进入 EDL 模式**。如果您的设备需要这样操作,会出现如下提示:
> **Put Device in EDL Mode to Continue**
> The additional firmware flash step completed successfully. To proceed with flashing the operating system, the device must be placed in EDL mode again.
 按照提示重新进入 EDL 模式。检测到设备后,烧录会自动恢复。
操作系统镜像烧录成功后,状态会变为 **"OS image Flash completed successfully"**,并且 **Configure Login** 按钮变为可用。
按照提示重新进入 EDL 模式。检测到设备后,烧录会自动恢复。
操作系统镜像烧录成功后,状态会变为 **"OS image Flash completed successfully"**,并且 **Configure Login** 按钮变为可用。
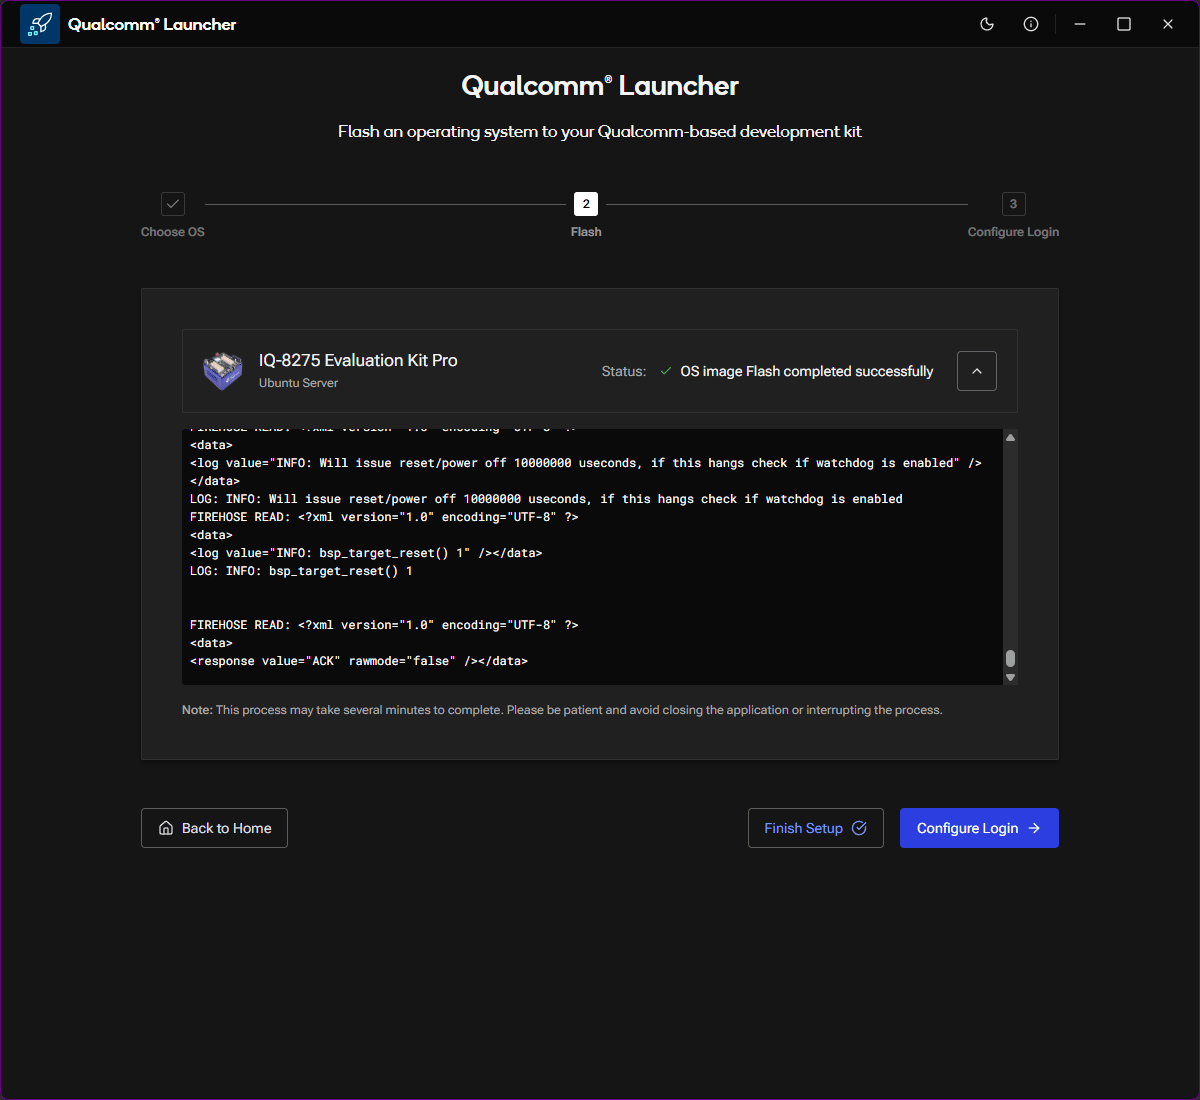 操作系统烧录已完成。设备已准备好进行初始配置。
## 下一步
点击 **Configure Login** 或继续阅读[配置设备](./configure-device)指南。
操作系统烧录已完成。设备已准备好进行初始配置。
## 下一步
点击 **Configure Login** 或继续阅读[配置设备](./configure-device)指南。