> ## Documentation Index
> Fetch the complete documentation index at: https://dragonwingdocs-staging.qualcomm.com/llms.txt
> Use this file to discover all available pages before exploring further.
# 在设备上运行扩展
> 直接在您的开发套件上运行 Qualcomm® VS Code 扩展 — 无需单独的主机。
## 概述
本指南帮助您完全在开发套件上运行 Qualcomm® VS Code 扩展 — 无需单独的主机。将显示器、键盘和鼠标直接连接到设备即可在本地进行操作。
***
## 前提条件
继续操作前,请先在设备上安装 VS Code。
从 `.vsix` 文件安装 Qualcomm® VS Code 扩展。
***
## 使用扩展
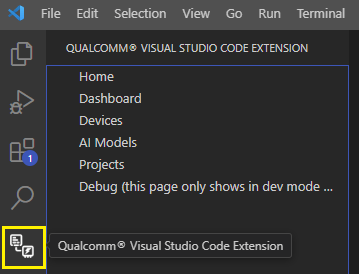
在设备上启动 VS Code,并点击活动栏中的 **Qualcomm Visual Studio Code Extension** 图标。**Home** 页面加载并显示 **Get Started** 和 **Go to Dashboard** 按钮。
 点击 **Go to Dashboard**。
扩展会自动检测到它正运行在设备上 — 该设备会出现在 Devices 列表中,带有 **On-Device** 徽标和 `Active (On-Device)` 状态,无需手动激活。
点击 **Go to Dashboard**。
扩展会自动检测到它正运行在设备上 — 该设备会出现在 Devices 列表中,带有 **On-Device** 徽标和 `Active (On-Device)` 状态,无需手动激活。
 ***
## 设置开发环境
首次打开设备卡片时,它会显示 **Dev environment not configured**。点击 **Set Up Dev Environment** 按钮,为设备端开发配置示例项目和工具。
您也可以随时通过设备卡片上的 **⋮** 菜单 → **Set Up Dev Environment** 触发此操作。
***
## 设置开发环境
首次打开设备卡片时,它会显示 **Dev environment not configured**。点击 **Set Up Dev Environment** 按钮,为设备端开发配置示例项目和工具。
您也可以随时通过设备卡片上的 **⋮** 菜单 → **Set Up Dev Environment** 触发此操作。
 设置运行期间,设备卡片上会显示进度指示器。
需要互联网连接和约 2–3 GB 的可用磁盘空间;根据网络速度,耗时 10–20
分钟。将安装 Qualcomm 运行时包(GStreamer、QNN、SNPE)和构建依赖项,添加
`ms-vscode.cpptools` 扩展,并获取示例应用程序源码。
设置运行期间,设备卡片上会显示进度指示器。
需要互联网连接和约 2–3 GB 的可用磁盘空间;根据网络速度,耗时 10–20
分钟。将安装 Qualcomm 运行时包(GStreamer、QNN、SNPE)和构建依赖项,添加
`ms-vscode.cpptools` 扩展,并获取示例应用程序源码。
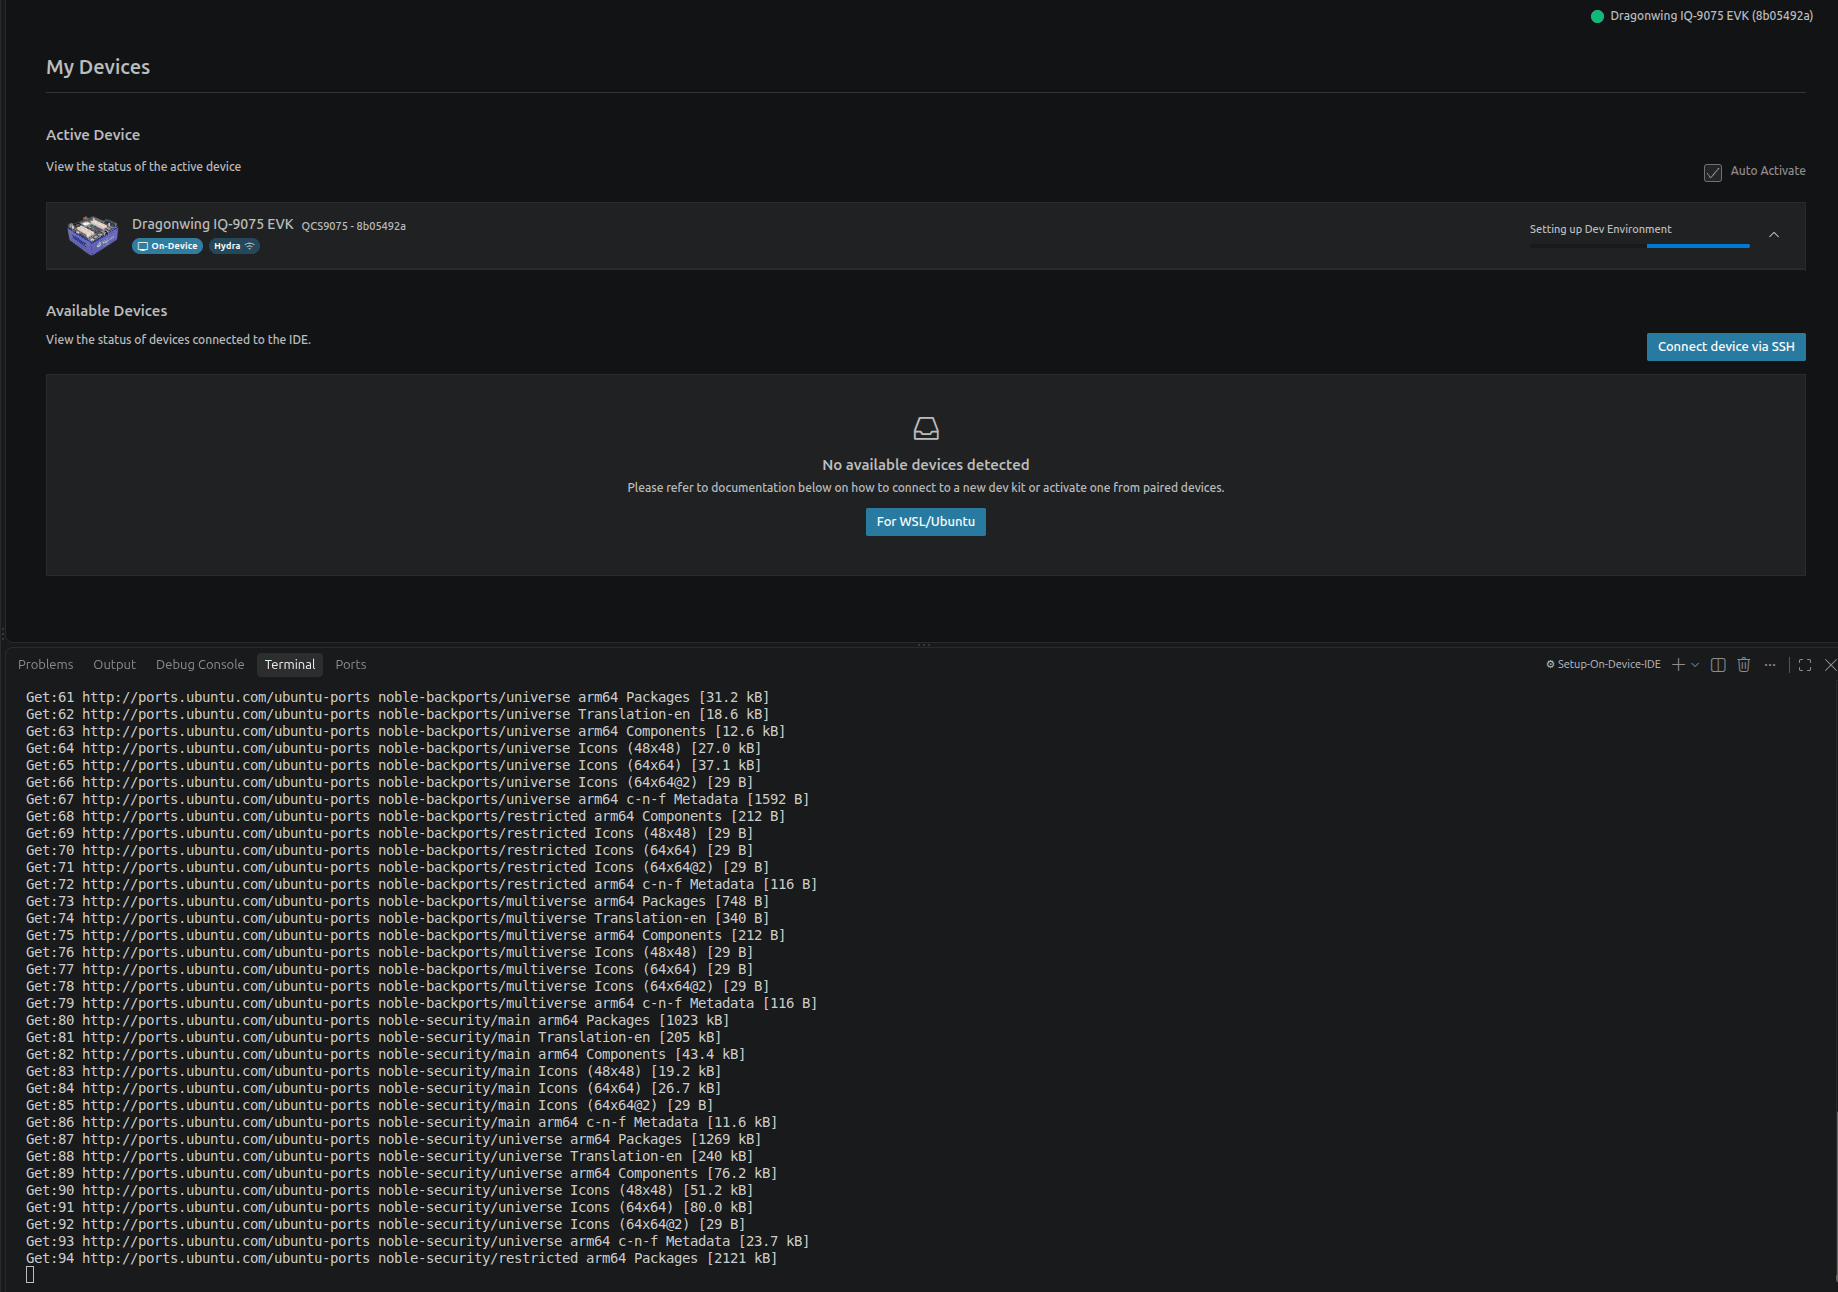 完成后,卡片会显示一个预装应用程序表格,包含其名称、位置和运行状态。
***
## 后续步骤
前往\*\*[构建与运行](../development/build-run)**编译并运行示例应用程序,或浏览**[示例项目](../development/projects)\*\*。
完成后,卡片会显示一个预装应用程序表格,包含其名称、位置和运行状态。
***
## 后续步骤
前往\*\*[构建与运行](../development/build-run)**编译并运行示例应用程序,或浏览**[示例项目](../development/projects)\*\*。