> ## Documentation Index
> Fetch the complete documentation index at: https://dragonwingdocs-staging.qualcomm.com/llms.txt
> Use this file to discover all available pages before exploring further.
# Install the Extension
> Download and install the Qualcomm® VSCode Extension from the Qualcomm Software Center.
## Download
The extension is available on the [Qualcomm® Software Center (QSC)](https://softwarecenter.qualcomm.com/catalog/item/qualcomm_ide_developer_edition) — **no account or login required**.
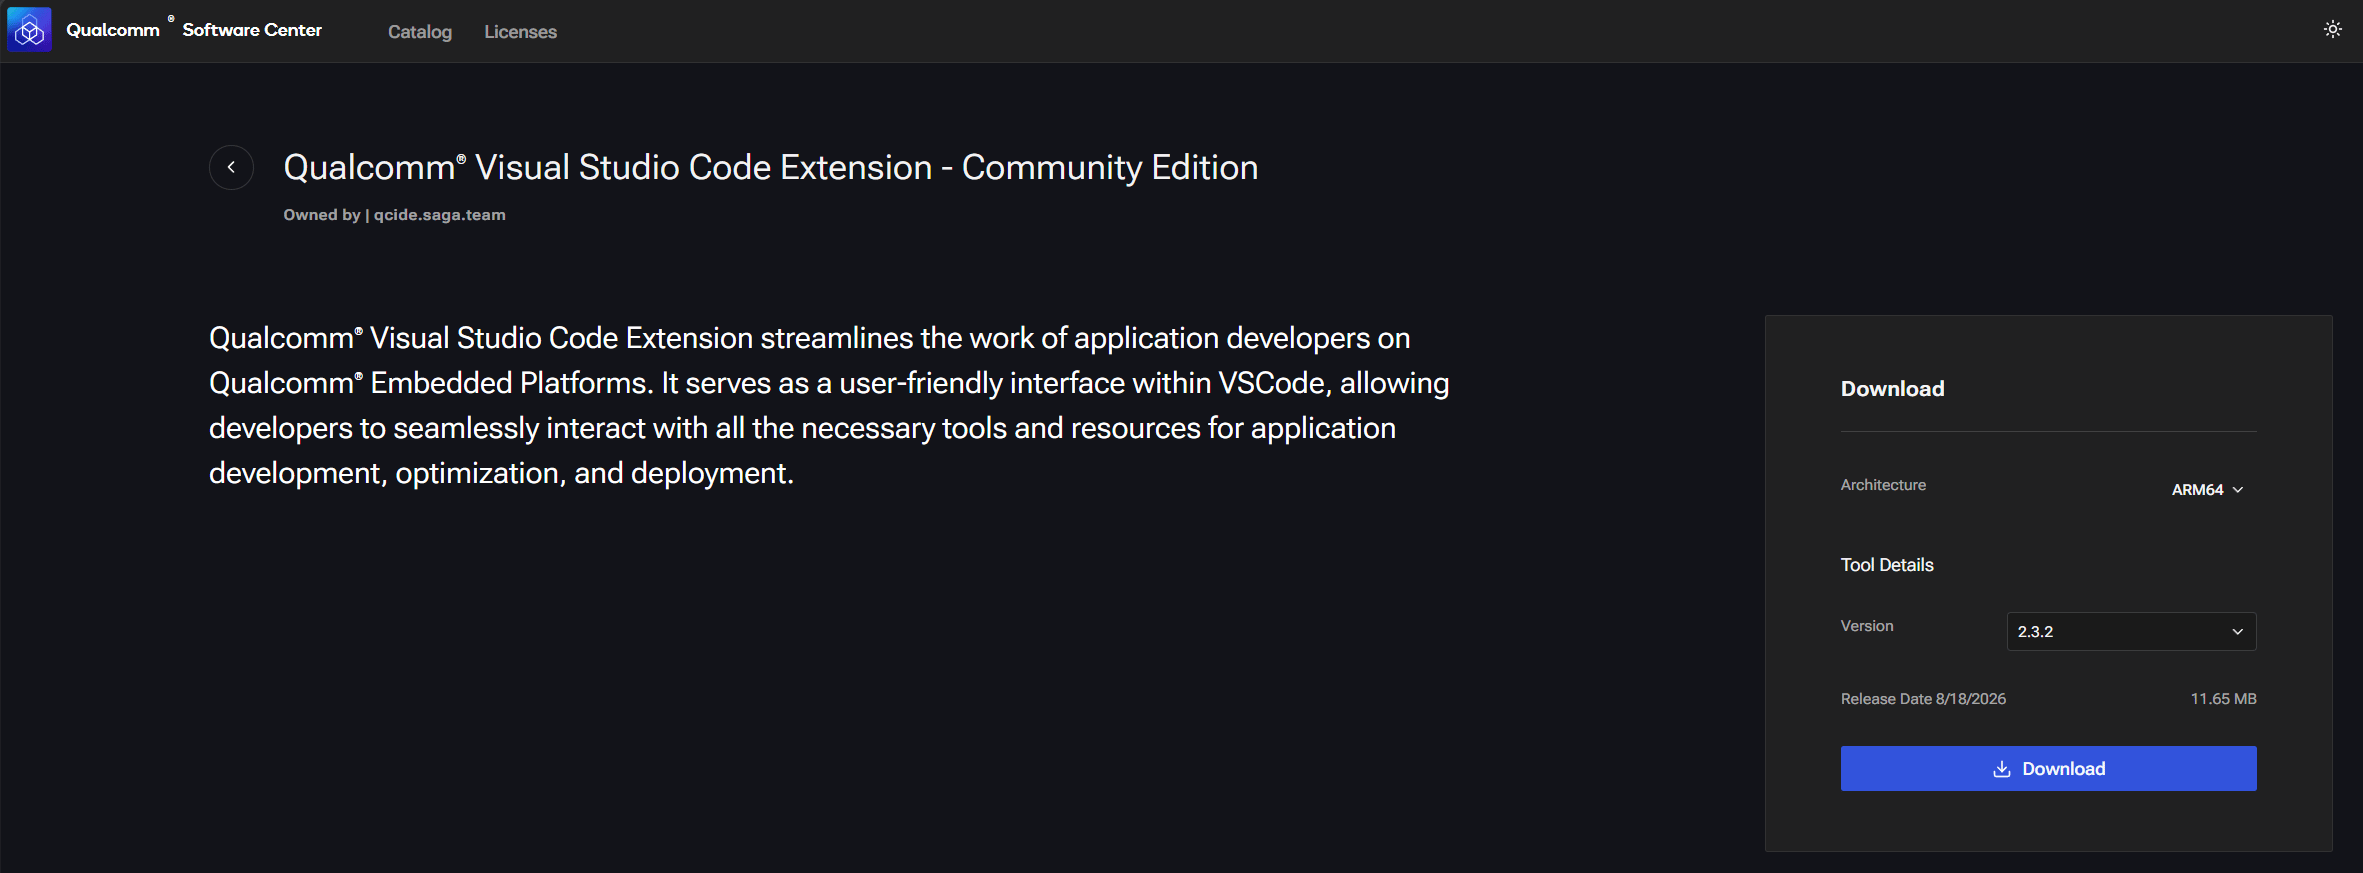 Look for **Qualcomm IDE Developer Edition** on the catalog page. The download is a `.vsix` file.
## Install in VS Code
Click the Extensions icon in the Activity Bar (or press `Ctrl+Shift+X`).
Click the `…` overflow menu at the top of the Extensions panel and choose **Install from VSIX…**
Look for **Qualcomm IDE Developer Edition** on the catalog page. The download is a `.vsix` file.
## Install in VS Code
Click the Extensions icon in the Activity Bar (or press `Ctrl+Shift+X`).
Click the `…` overflow menu at the top of the Extensions panel and choose **Install from VSIX…**
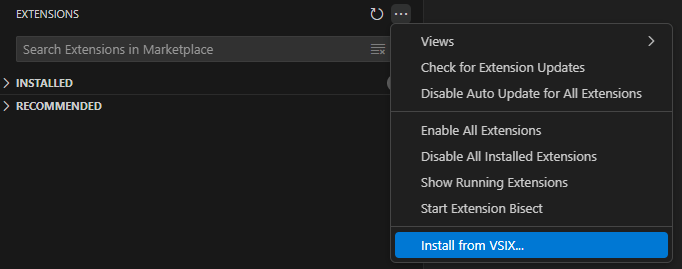 Browse to the `.vsix` file you downloaded.
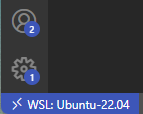
**Windows users:** Install the extension from **inside WSL**. Confirm that the VS Code status bar reads **WSL: Connected** before this step.
Browse to the `.vsix` file you downloaded.
**Windows users:** Install the extension from **inside WSL**. Confirm that the VS Code status bar reads **WSL: Connected** before this step.
 After installation, a **Qualcomm Visual Studio Code Extension** icon appears in the Activity Bar. Click it.
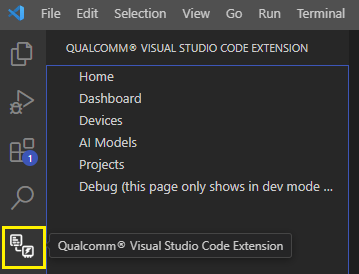 Select **Home** in the side-bar, then click **Get Started** to launch the host setup wizard.
## Verify Installation
You should see the Qualcomm extension icon in the Activity Bar and be able to navigate to **Home** in the side-bar.
The **Home** page loads with a **Get Started** button — you are ready to configure your development environment.
Select **Home** in the side-bar, then click **Get Started** to launch the host setup wizard.
## Verify Installation
You should see the Qualcomm extension icon in the Activity Bar and be able to navigate to **Home** in the side-bar.
The **Home** page loads with a **Get Started** button — you are ready to configure your development environment.