> ## Documentation Index
> Fetch the complete documentation index at: https://dragonwingdocs-staging.qualcomm.com/llms.txt
> Use this file to discover all available pages before exploring further.
# Experience AI Applications with Qdemo UI
> Run AI use cases on Qualcomm Dragonwing IOT platform using Qdemo
Qualcomm Dragonwing™ platform come preinstalled with Qdemo, a graphical user interface (GUI) application designed to run AI use cases. Use the Qdemo application to explore the AI capabilities of the development kit.
The following table lists the AI sample applications that you can run using Qdemo.
**Sample applications supported in Qdemo**
| Application | Description |
| - | - |
| Daisychain Pose | Performs cascaded object detection and pose detection streamed from a camera. |
| FaceDetection | Processes inputs from a camera and uses the Qualcomm® AI Hub detection model for face |
| Multistream | Shows AI inference (object detection) on input streams from a camera or a file. |
| ObjectDetection | Performs object detection on streams from a camera. |
| Parallel-AI-Fusion | Performs object detection, image classification, pose detection, and image segmentation on an input stream from a camera. |
| DashCamera | Displays two simultaneous camera feeds side by side. |
| Record live video | Records live video from a camera source, simultaneously displaying the stream and saving it as an H.264-encoded MP4 file (video\_out.mp4). |
| VideoTestSrc | Renders a GStreamer test pattern using videotestsrc, useful for verifying the display pipeline without a physical camera. |
| VideoWall | Plays a previously recorded MP4 file using the Record live video application across a 2×2 tile grid for a 4-up video wall display. |
For the complete list of available applications, see [Qualcomm IM SDK sample applications](https://imsdkdocs.qualcomm.com/sample-application/ai-sample-applications).
`Qdemo` application is not supported on `IQ-2390` and `CQ-2390`.
## Prerequisites
* **Qualcomm Linux multimedia image**: The device must be flashed with the prebuilt Qualcomm Linux multimedia proprietary image (`qcom-multimedia-proprietary-image`), which includes Qdemo and the Qualcomm IM SDK.
* **HDMI monitor**: Connect to the device to view Qdemo output.
* **Mouse and keyboard**: Required to interact with the Weston desktop and the Qdemo application.
* **USB camera (optional)**: Required for camera-based sample applications. If connected, select it from the `Source` list in Qdemo.
* **Set up the debug UART**:
The debug UART provides serial-console access to the device, allowing you to sign in and verify the device after flashing.
Follow the debug UART setup instructions in the EVK guide for the specific device you are using. For example, see [Set up the debug UART for Qualcomm Dragonwing IQ9](https://dragonwingdocs.qualcomm.com/Linux/devices/iq9075-evk/set-up-the-device#set-up-the-debug-uart).
* **Connect to Wi-Fi**:
AI sample applications require a Wi-Fi connection to download models and labels from GitHub. Multimedia applications do not require Wi-Fi.
Follow the Wi-Fi connection instructions in the EVK guide for the specific device you are using. For example, see [Connect to Wi-Fi for Qualcomm Dragonwing IQ9](https://dragonwingdocs.qualcomm.com/Linux/devices/iq9075-evk/set-up-the-device#wi-fi).
* **Verify GStreamer installation**:
Launch the `weston terminal` by clicking on the `terminal` icon on the screen:
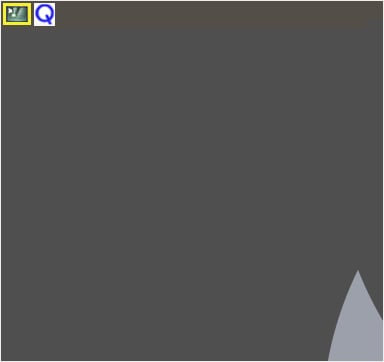 After launching the `weston terminal`, run the following command to verify Gstreamer installation:
```shell theme={null}
gst-launch-1.0 --version
```
* **Enable Camera**:
To use camera-based applications, SSH into the target device from the host computer:
```shell theme={null}
ssh root@
```
Then run the following commands on the target device to enable `qticamsrc`:
```shell theme={null}
echo -n "camx" > /var/data
efivar -n 882f8c2b-9646-435f-8de5-f208ff80c1bd-VendorDtbOverlays -w -f /var/data
efivar -n 882f8c2b-9646-435f-8de5-f208ff80c1bd-VendorDtbOverlays -p
sync
reboot
```
## Run sample applications using Qdemo
Connect the mouse, keyboard, and HDMI monitor to the device, then power it on.
After the device powers on, the following screen appears on the monitor.
After launching the `weston terminal`, run the following command to verify Gstreamer installation:
```shell theme={null}
gst-launch-1.0 --version
```
* **Enable Camera**:
To use camera-based applications, SSH into the target device from the host computer:
```shell theme={null}
ssh root@
```
Then run the following commands on the target device to enable `qticamsrc`:
```shell theme={null}
echo -n "camx" > /var/data
efivar -n 882f8c2b-9646-435f-8de5-f208ff80c1bd-VendorDtbOverlays -w -f /var/data
efivar -n 882f8c2b-9646-435f-8de5-f208ff80c1bd-VendorDtbOverlays -p
sync
reboot
```
## Run sample applications using Qdemo
Connect the mouse, keyboard, and HDMI monitor to the device, then power it on.
After the device powers on, the following screen appears on the monitor.
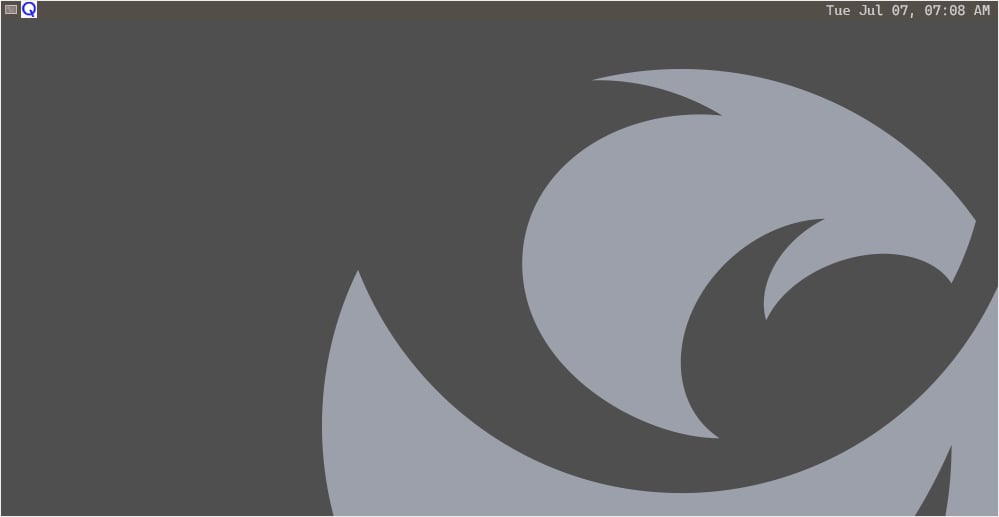 Run the Qdemo application by clicking the `Q` icon on the screen.
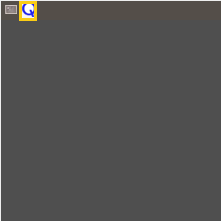 The **Experience Application Demo** window displays.
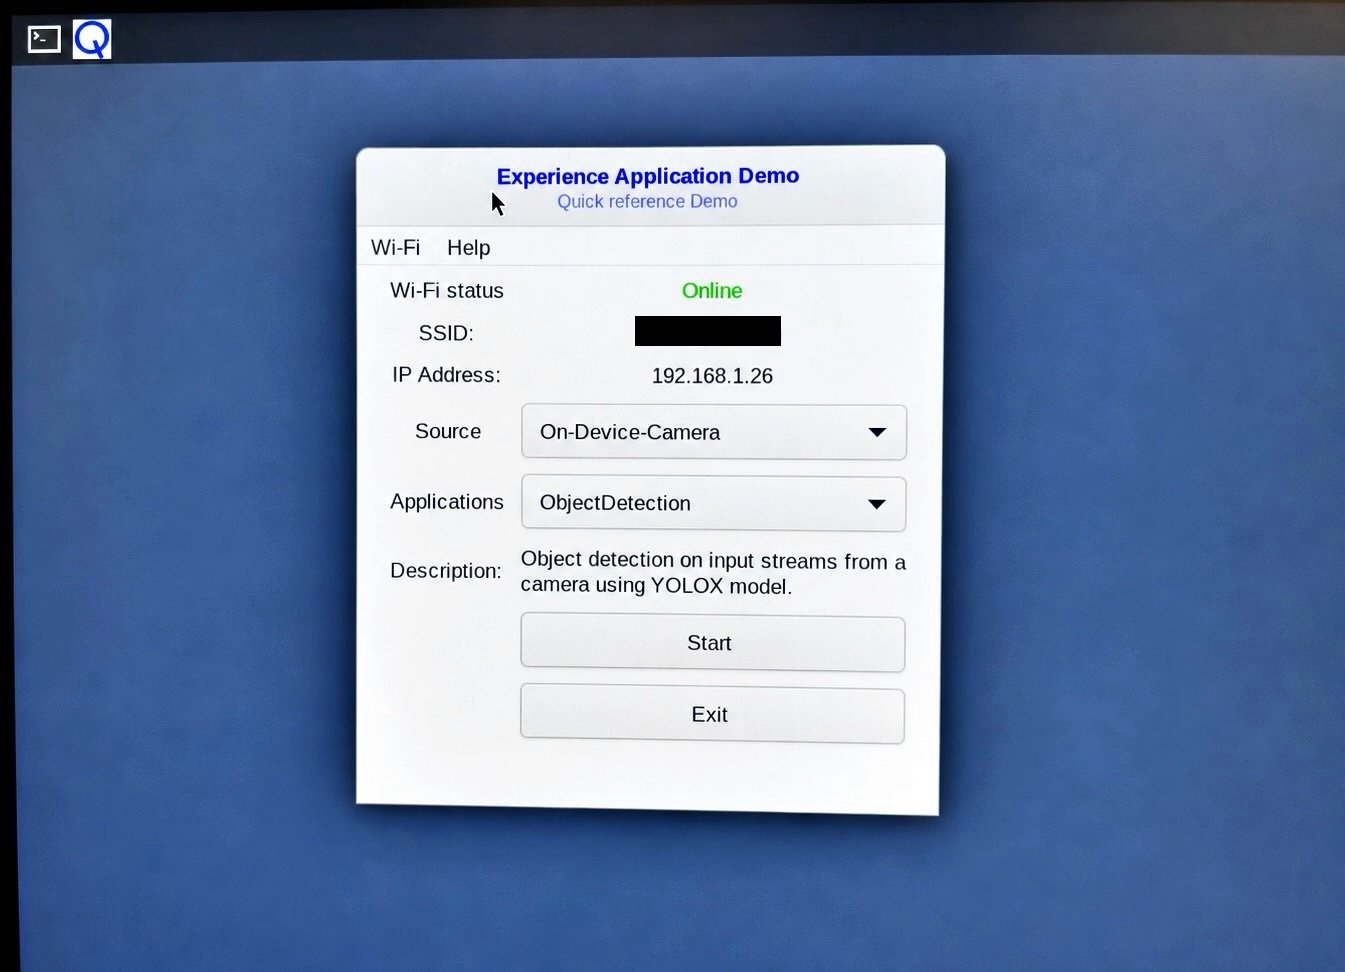 `Wi-Fi` connection is already done.
In the **Source** list, select the required camera.
If you connect a USB camera to the device, use the **Source** list to select the USB camera. By default, the **On-Device-Camera** is selected.
In the **Applications** list, select an application and click **Start**.
The selected application starts running, and a pop-up window displays the output on the screen.
During the first run, the application may take more than a minute to start, as it downloads AI models and labels from GitHub.
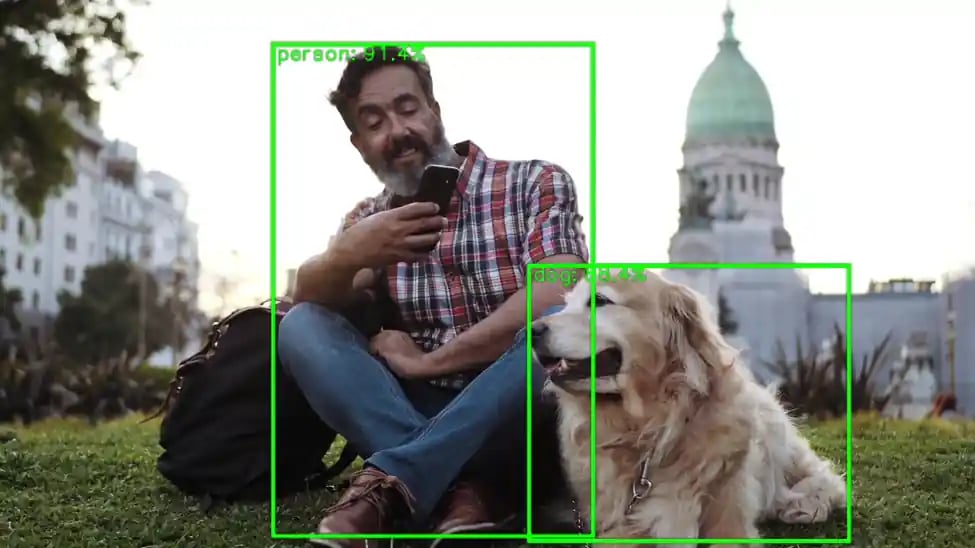
The following figure shows the sample output of the Object Detection application, identifying two objects including a person and a dog:
`Wi-Fi` connection is already done.
In the **Source** list, select the required camera.
If you connect a USB camera to the device, use the **Source** list to select the USB camera. By default, the **On-Device-Camera** is selected.
In the **Applications** list, select an application and click **Start**.
The selected application starts running, and a pop-up window displays the output on the screen.
During the first run, the application may take more than a minute to start, as it downloads AI models and labels from GitHub.
The following figure shows the sample output of the Object Detection application, identifying two objects including a person and a dog:
 Close the output window to stop the sample application.
Select **Exit** to close the Qdemo application.
Close the output window to stop the sample application.
Select **Exit** to close the Qdemo application.