> ## Documentation Index
> Fetch the complete documentation index at: https://dragonwingdocs-staging.qualcomm.com/llms.txt
> Use this file to discover all available pages before exploring further.
# Run the Extension On-Device
> Run the Qualcomm® VS Code Extension directly on your development kit — no separate host machine required.
## Overview
This guide helps you run the Qualcomm® VS Code Extension entirely on the development kit — no separate host machine needed. Connect a monitor, keyboard, and mouse directly to the device to interact with it locally.
***
## Prerequisites
Install VS Code on the device before proceeding.
Install the Qualcomm® VS Code Extension from a `.vsix` file.
***
## Using the Extension
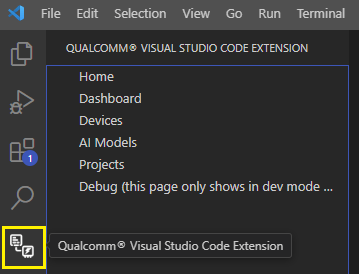
Launch VS Code on the device and click the **Qualcomm Visual Studio Code Extension** icon in the Activity Bar. The **Home** page loads with **Get Started** and **Go to Dashboard** buttons.
 Click **Go to Dashboard**.
The extension automatically detects that it's running on the device — it appears in the Devices list with an **On-Device** badge and `Active (On-Device)` status, with no manual activation needed.
Click **Go to Dashboard**.
The extension automatically detects that it's running on the device — it appears in the Devices list with an **On-Device** badge and `Active (On-Device)` status, with no manual activation needed.
 ***
## Set Up the Development Environment
The first time you open the device card, it shows **Dev environment not configured**. Click the **Set Up Dev Environment** button to configure sample projects and tools for on-device development.
You can also trigger this at any time from the **⋮** menu on the device card → **Set Up Dev Environment**.
***
## Set Up the Development Environment
The first time you open the device card, it shows **Dev environment not configured**. Click the **Set Up Dev Environment** button to configure sample projects and tools for on-device development.
You can also trigger this at any time from the **⋮** menu on the device card → **Set Up Dev Environment**.
 A progress indicator is shown on the device card while setup runs.
Requires an internet connection and about 2–3 GB of free disk space; takes
10–20 minutes depending on network speed. Installs Qualcomm runtime packages
(GStreamer, QNN, SNPE) and build dependencies, adds the `ms-vscode.cpptools`
extension, and fetches sample application sources.
A progress indicator is shown on the device card while setup runs.
Requires an internet connection and about 2–3 GB of free disk space; takes
10–20 minutes depending on network speed. Installs Qualcomm runtime packages
(GStreamer, QNN, SNPE) and build dependencies, adds the `ms-vscode.cpptools`
extension, and fetches sample application sources.
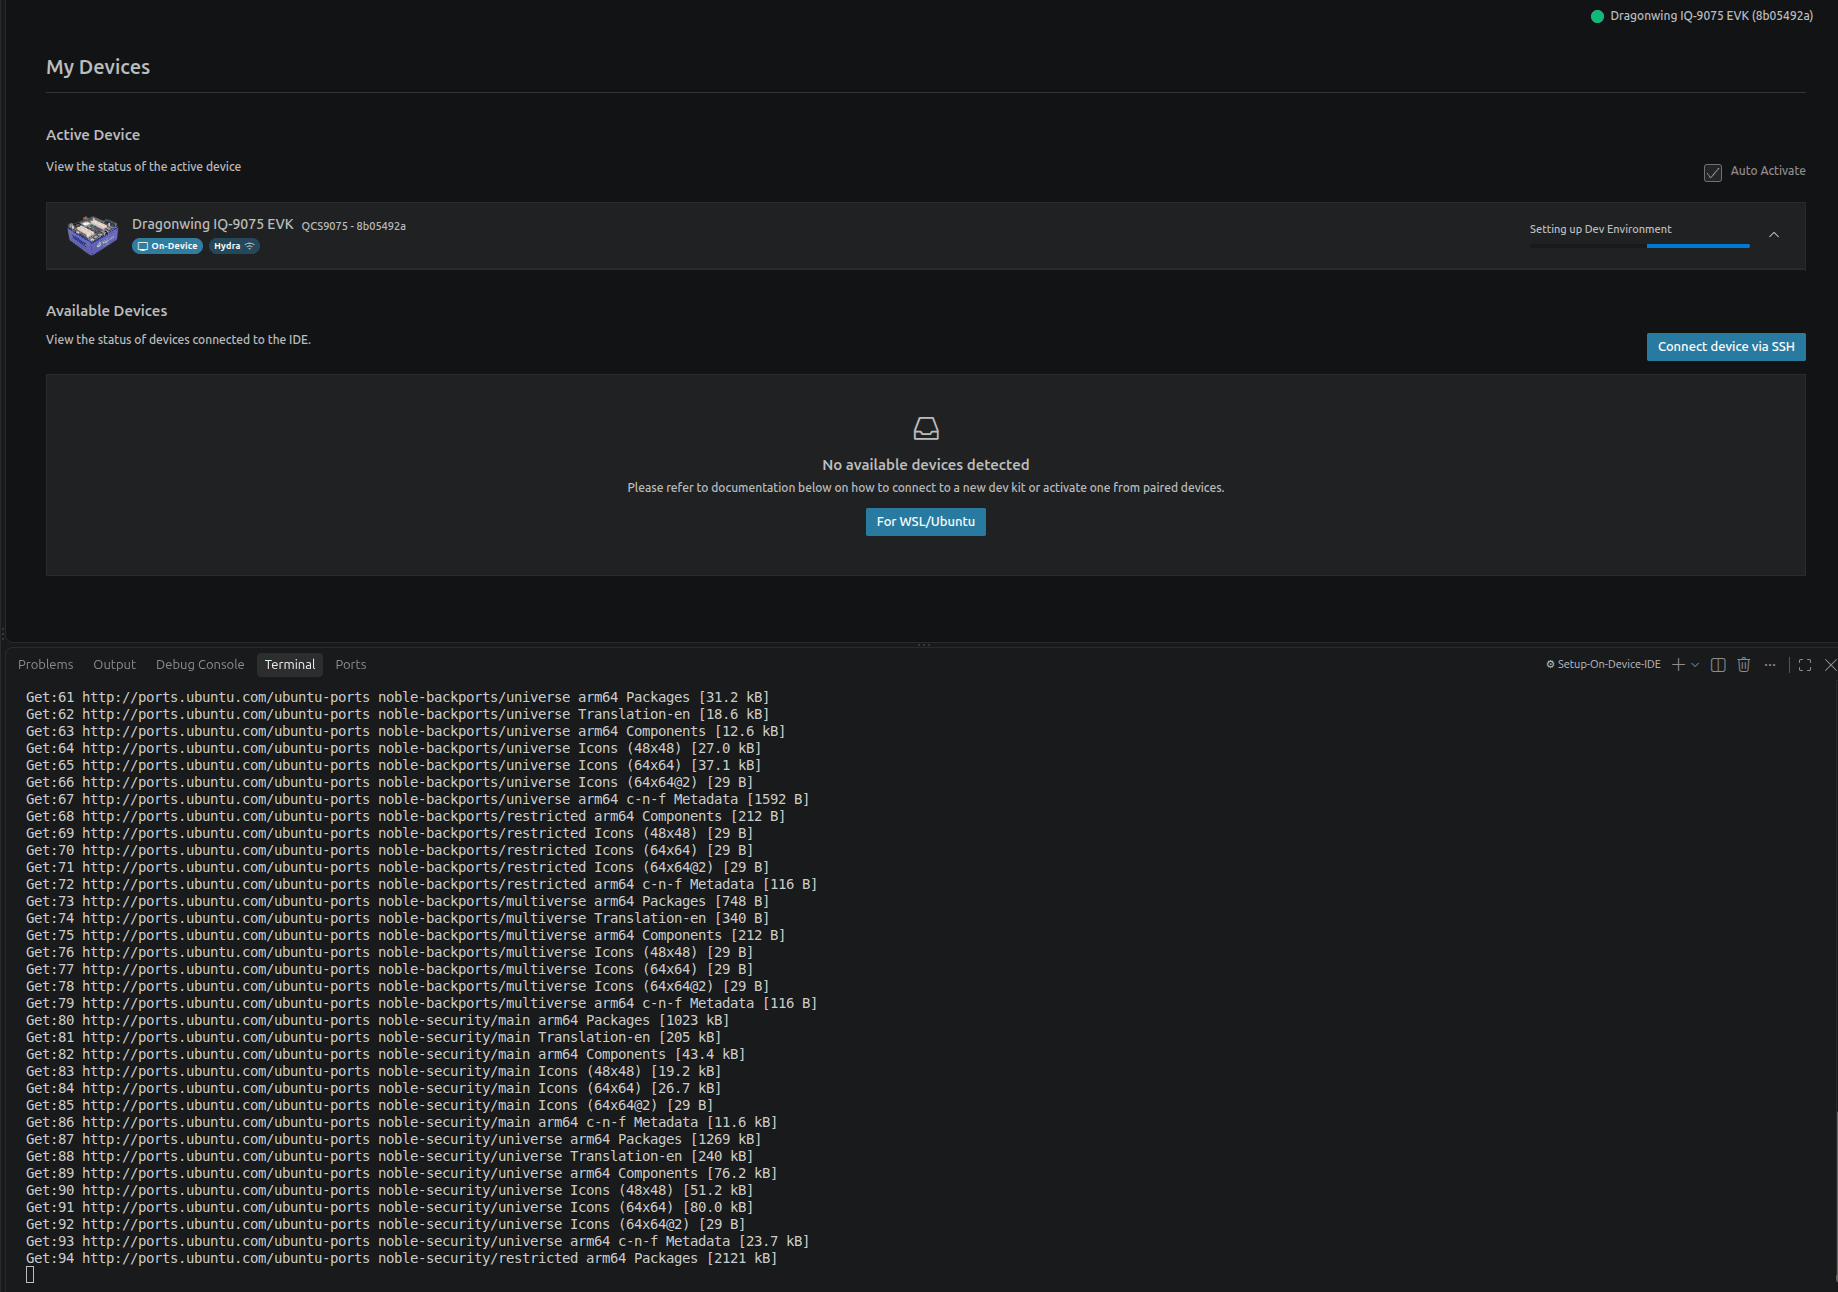 Once complete, the card displays a table of preloaded applications with their name, location, and run status.
***
## Next Steps
Head to **[Build & Run](../development/build-run)** to compile and run a sample application, or browse **[Sample Projects](../development/projects)**.
Once complete, the card displays a table of preloaded applications with their name, location, and run status.
***
## Next Steps
Head to **[Build & Run](../development/build-run)** to compile and run a sample application, or browse **[Sample Projects](../development/projects)**.